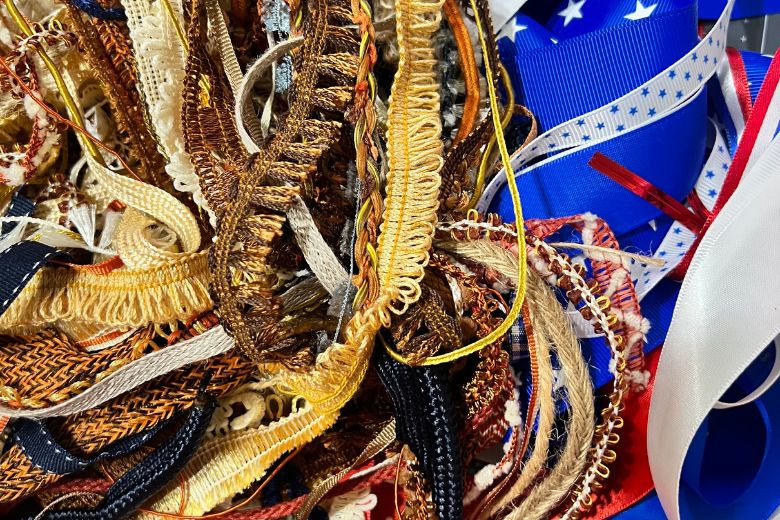
Are you tired of struggling with tangled ribbons and trims in your craft room? If so, it’s time to bring some order to the chaos. Fortunately, there’s a simple and affordable solution: wrapping your ribbons and trims around sturdy card stock, like comic book boards. This method will not only keep your crafting space neat and tidy but also make it easier to find the perfect embellishments for your next project. You can watch the video, or read below.
Here’s a step-by-step guide to get your ribbons and trims organized and ready for creative action:
Materials You’ll Need:
- Ribbons and trims
- Comic book boards or other sturdy card stock
- Scissors
- Straight pins
- Clear plastic bags or containers (optional)
- Labels (optional)
- Permanent markers (optional)
- (See bottom of post for items you may be interested in)
Step 1: Gather Your Ribbons and Trims
Start by collecting your items from various drawers, bins, and hiding spots in your craft room. Lay them out on a table or workspace, so you can see exactly what you have.
Step 2: Cut Your Backing Boards
Take your comic book boards and decide the size you want to work with. You may want to cut them in half or even in quarters. These card stock pieces will serve as your “spools” to wind your ribbons and trims around.
Step 3: Wrap Your Ribbons and Trims
Now comes the satisfying part! Start wrapping each ribbon or trim around your backing board. Keep it taut but not so tight that it begins to pucker the backing. I like to use long, steel, straight pin to secure the loose end. You can also decide if you want to sort your ribbons by colors, themes, etc. You will want to sort in a manner that makes sense to you!
Step 4: Label and Organize
For added convenience, consider labeling your spools. You can use a permanent marker to jot down the name, color, and any other relevant information about the ribbon or trim. This step will save you time and help you quickly identify the perfect embellishment for your project.
Step 5: Store and Display
There are various ways to store your neatly wrapped ribbons and trims. You can place them in clear plastic bags, store them in decorative containers, or simply arrange them on a dedicated shelf or drawer. The choice is yours, depending on your craft room’s space and aesthetics.
By following these simple steps, you’ll transform the clutter of ribbons and trims into an organized and accessible collection. No more rummaging through tangled messes or buying duplicates of supplies you already own. You’ll be able to see everything at a glance, and your crafting sessions will become more enjoyable and productive.
Additionally, this method makes it easy to share or trade ribbons and trims with fellow crafters, as you can quickly identify what you have and what you’re willing to part with.
In conclusion, organizing ribbons and trims in your craft room using comic book boards or sturdy card stock is a cost-effective and efficient way to maintain order and inspire creativity. With everything neatly wrapped, labeled, and stored, you’ll be well-prepared to embark on your next crafting adventure!
Items you may find useful:
- Comic Backer Boards: https://amzn.to/46gvgA9
- Cutter Bee Precision’s Scissors: https://amzn.to/3FKYcoR
- Stainless Steel Pins: https://amzn.to/460iDJ1
[As an Amazon Associate, I may earn a small amount on qualifying purchases, with no additional cost to you.]
Sign up for my Telegram app link, and you can find out when I am going to be live. https://t.me/myartfuladventures
Cheers to YOUR Artful Adventures!

