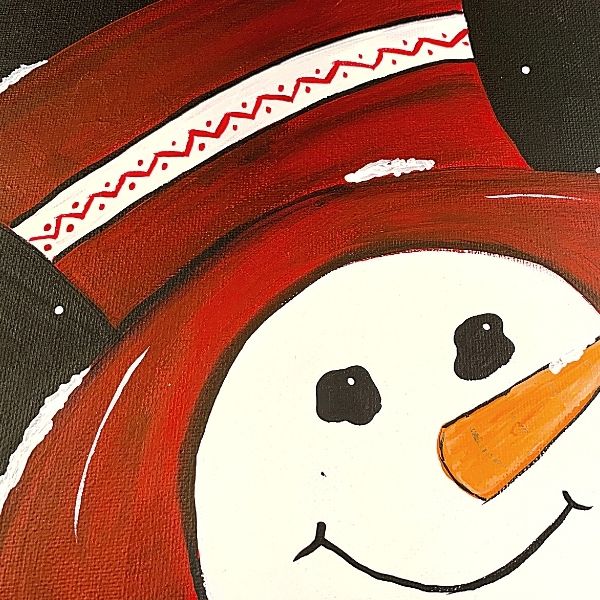
I recently did a fun snowman painting, then decided to add something to his hatband. I decided to add a snowflake to make my painting more usable than just through Christmas. Why not get more bang for your buck, right? However, I didn’t really want to chance a large, freehand snowflake. After all, I was already happy with the rest of the painting. So what would I do? Stencils to the rescue! By adding stencil details to the painting, I would get the results I wanted, and not chance messing the whole thing up. Continue reading below, or watch the video.
Create Your Own Stencil
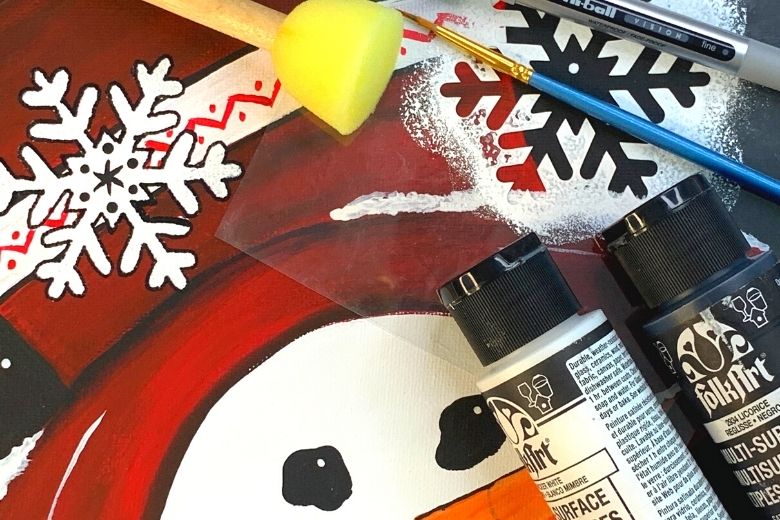
Luckily, I had already purchased some material to cut stencils myself. Facebook groups are wonderful for sharing things they have found that work and don’t work. So when I had heard of a nominally priced material that seemed to work well, I ordered it. Now I was ready, because the 6 mil Mylar had been delivered months ago!
Opening up Cricut Design Space, I found a couple of snowflakes to try. I grabbed a ruler to determine how big to make the snowflakes. After setting it up, I cut them out, and had snowflake stencils the perfect size for my project!
Make sure the paint is dry before placing a stencil on top of it. Also, make sure the stencil doesn’t move, by holding securely or using washi tape or repositionable tape. Don’t overload your sponge or stencil brush, and hold straight up and down while you tap your paint on. This will help keep paint from seeping under the edges of your stencil. When finished, gently remove the stencil.
Finishing Touches on the Stenciled Image
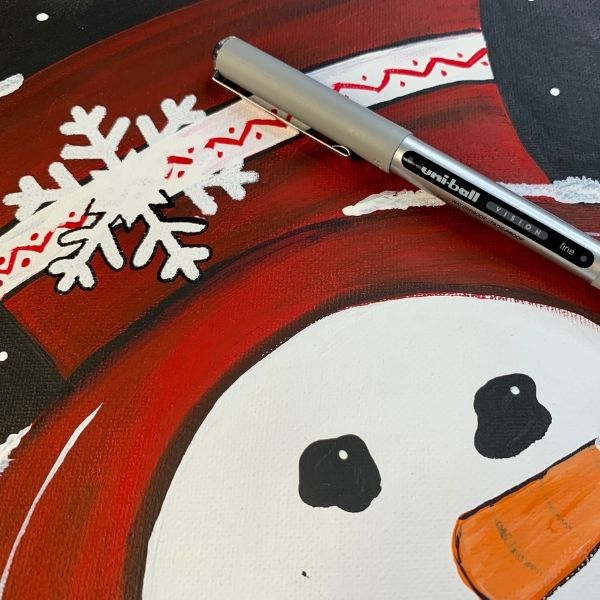
I used my favorite liner pen, and outlined the edges with black. What a difference it made!
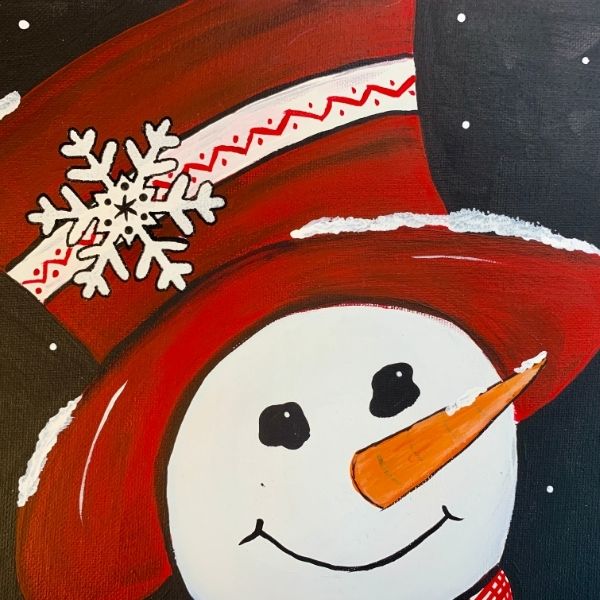
Finally, to create a more delicate look for my snowflake, I added a few more touches with a liner brush and black paint. By adding stencil details to a painting, you can create the look you are going for!
Cheers to YOUR Artful Adventures!
Kristie