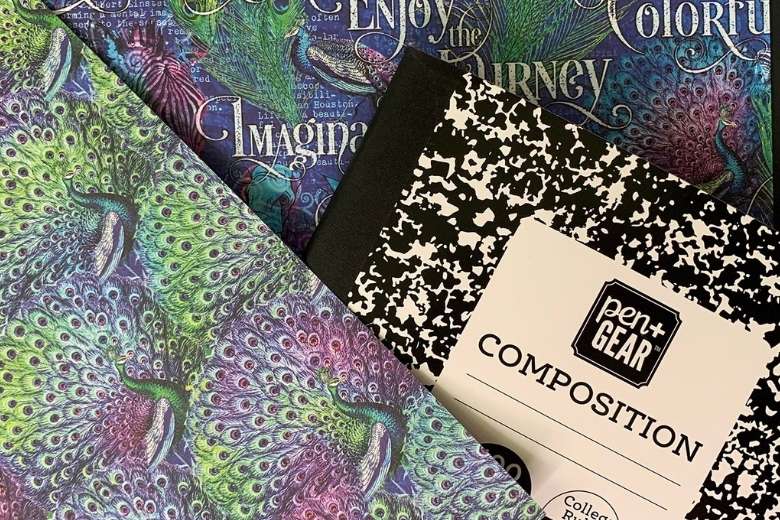
Five Step Composition Notebook Maker in Just Minutes
Did you pick up composition notebooks while they were on sale during back-to-school sales? They are usually least expensive during those sales. They aren’t very visually appealing, but we can fix that. Let’s do a composition notebook makeover! Turn a simple boring composition book into something you can enjoy using, and don’t mind looking at.
First, Grab Some Pretty Paper for the Makeover
If you are already a scrapbooker or card maker, you probably have papers you are hoarding because you don’t want to cut them up or have them hidden under other layers of papers or photos and not be able to see them. However, this is a perfect way to use that paper and enjoy it over and over! It’s makeover time!
If you don’t already have paper you want to use, the scrapbooking and card making industry has countless papers. With so many themes and color palettes, you are sure to find something you love.
Second, Cut the Paper
For the front and back covers, cut two pieces of paper measuring 6 3/4″ x 9 3/4″. For the spine cover you’ll cut one piece of a coordinating card stock or decorative paper at 2 1/4″ x 9 3/4″. You may paint the spine instead, it’s your choice! I usually like a coordinating paper to cover the spine, but it is a personal preference. An alternative method is to use one 12″x12″ paper cut in half for both the front and back, and then make the spine cover wider. You can see it in this Facebook Live video.

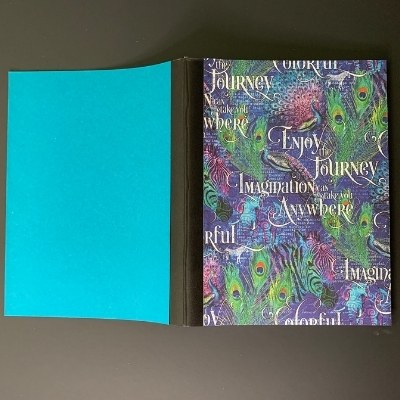
Third, Adhere the Paper to Front, Back and Spine
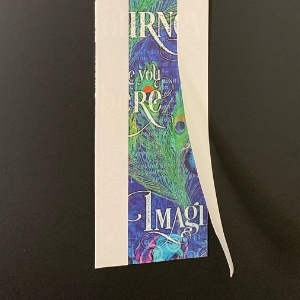
Lining up the outer edges of the paper against the notebook, adhere in place with your chosen adhesive. You may want to use a glue that will give you a moment of wiggle room, allowing you to get your paper on straight. You will have a little bit of an overhang if your notebook has curved corners. Just flip the cover open and trim along the edge, using the notebook cover as your guide.
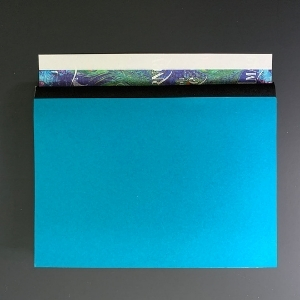
To apply the the spine cover over the rounded spine, gently work your paper over the edge, so that you are stretching the papers fibers a little a time. This method will help alleviate any ‘cracking’ the paper may want to do as you bend it. I adhered the spine used some sticky strip because I thought the backing may get the most use and it may be hard to keep in place with glue.
I ran the sticky strip on the long edge of each side of the spine cover strip. I carefully aligned it just over the edge of the binding on the front side first, to make sure it was straight. Flip the notebook over and you’re ready to place the back of the binding cover down. That’s it! The basic makeover is complete.
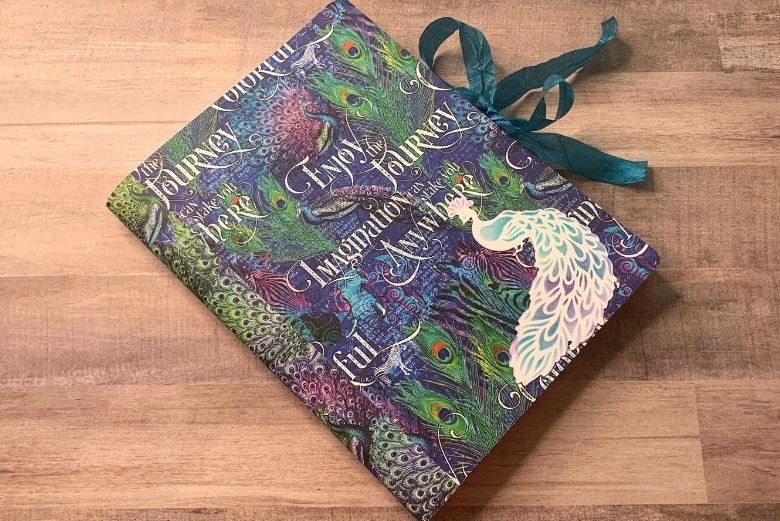
Five, Add Embellishments to Complete the Composition Notebook Makeover
Now just decorate as you would you’d like. This one is so busy, had a hard time deciding if I wanted to add anything else for embellishments. I finally decided to add a die cut I just left it as is. I may still add some ribbon as a closure, just for fun.
Cheers to YOUR Artful Adventures!
Kristie