Mini albums can be completed more quickly than many other similar projects. Who doesn’t enjoy that satisfied feeling of having a project finished? Typically, you don’t even need a zillion supplies! Find a few coordinating papers, a few embellishments, and you are well on your way to wonderful mini album! They can even make perfect gifts.
Make or Buy Your Mini Album?
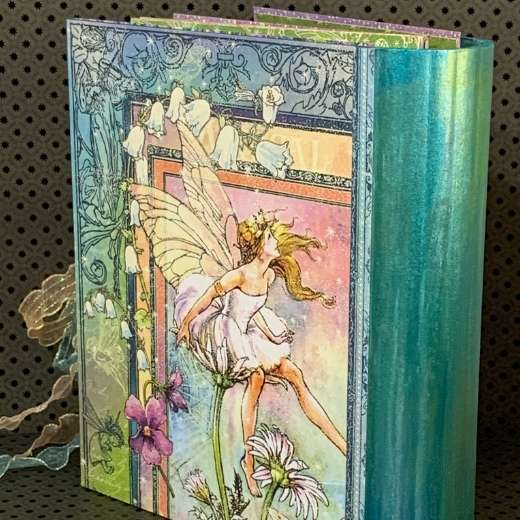
Should you decide to make your album own from scratch, you can decide on any size you like. If you are purchasing an album, there are a variety of sizes available, depending on the vendor. Some prefer to offer albums with square pages, while others offer rectangular. I really like the curved spine albums with metal rings which I found available at Pinecone Press, while at Scrapbook Expo. This album is chipboard, which allows you to paper or paint it. So I decided to paint this one, using Perfect Paints to create a coordinating spine, inside and out. Pinecone Press had a number of kits available for cards and albums, and although I love creating things from scratch, I also enjoy a good kit if the paper catches my eye! This particular mini album has 6″ x 8″ pages. Their kits have excellent instructions!
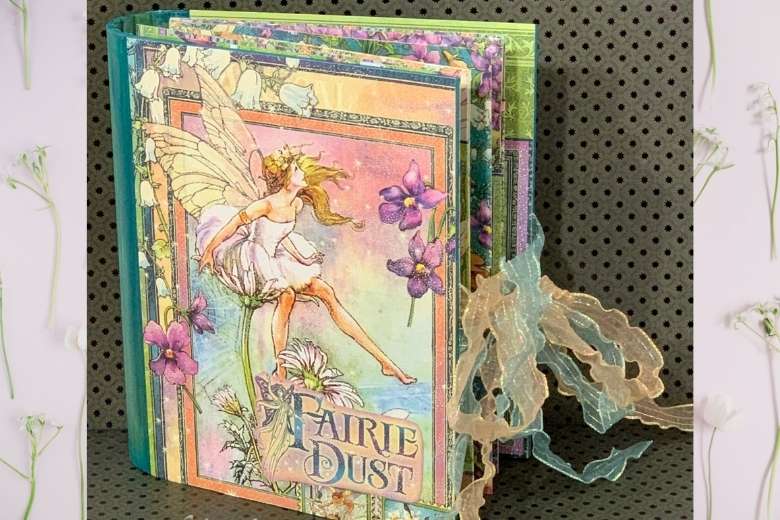
The Fairie Dust Collection
I saw this Fairie Dust collection from Graphic 45, and knew I had to have it. It seems to be one of the paper lines that always has something I adore and want to create with. I adore whimsical things and I enjoy the number of fairie and mermaid items available everywhere, not just paper and scrapping supplies. So this little album is going have a special place, just because of it’s paper theme. What paper lines are your favorites?
Take Full Advantage of a Paper Collection for Your Mini Album
When you find a collection that has papers with cut-apart, grab your scissors and start cutting. As a result, you’ll have additional embellishments. The cards segments that are in many of the cut-aparts will make great tip-ins, by becoming little flaps. There are two ways to make a hinged piece for your tip-in. The first way is to cut your piece a little larger on one side, and adhere one edge under another piece to hide the edge. The second way is to just use a bit of washi tape to make a little hinge. Either method works well and adding tip-ins will give you added areas in the album. Because who doesn’t want more space to put all the journaling, photos, etc.?
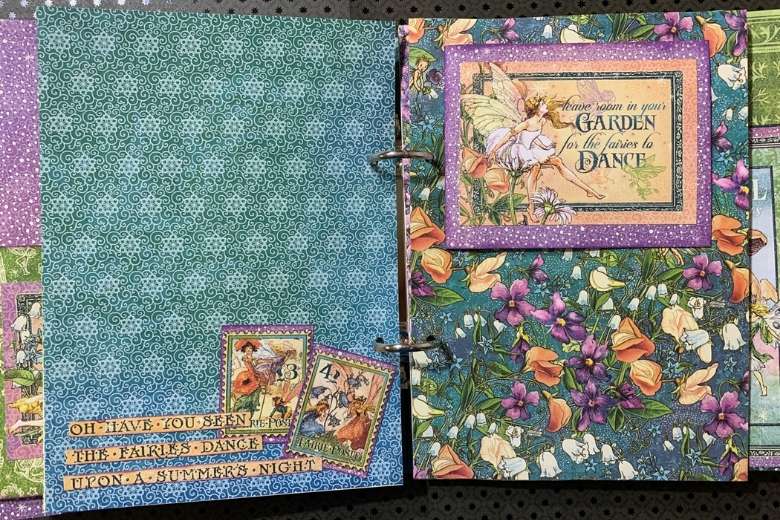
Cut apart used for decorating pages. 
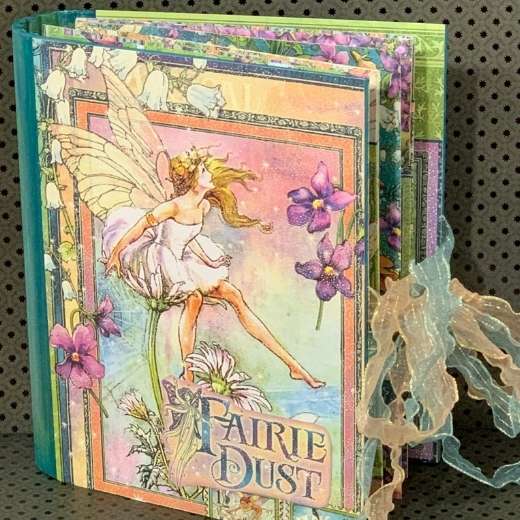
Gorgeous colors with charming illustrations.
Adding a Closure
There are numerous ways to add a closure to your album, and this is just one. Cords or ribbons are a great finishing touch and you can select some charms to tie on them to even further personalize your creation — even if it started out from a kit! I love the look of this ruffled ribbon. You can take sheer ribbon and ruffle it by carefully applying light heat, and as a result, it will begin to ruffle as it heats, but be careful not to overheat it! Using this method will definitely be a trick I keep in mind for future projects because I love the way it turned out!.

Using the cut apart cards for tip-ins, creates more space when open. Great for hidden journaling. 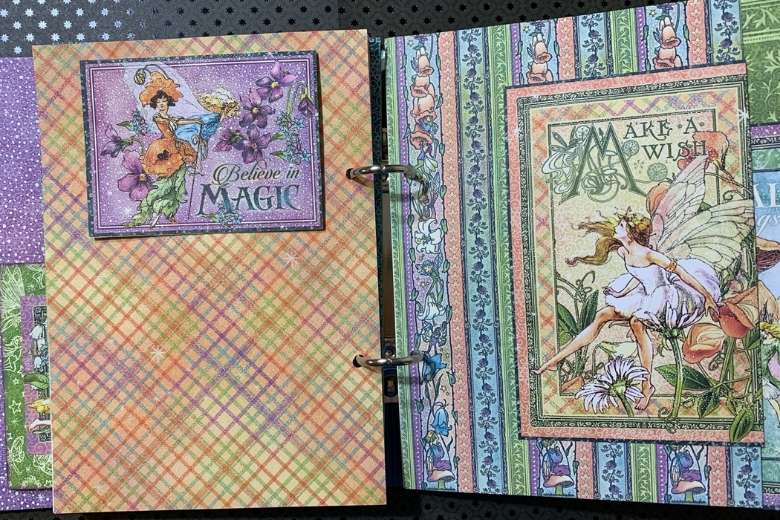
Fun selection on papers and color palette.
You may be interested in some whimsical fairie silhouette die cuts for a project. Check those out here.
Have you created any mini albums lately? Were they created for someone or something specific?
Cheers to YOUR Artful Adventures!
Kristie
originally posted on the original Artful Adventures website.