Yes! You can print an image on tissue paper
Previously, we talked about how to use the art on a paper napkin and apply it to canvas to create a small piece of decor. Today, I’ve got two twists on that idea, how to print an image on tissue paper and how to apply it to a glass surface.
Yes! You can print you own image on regular gift tissue paper! When you use the printed are on a napkin, you first separate the layers of the napkin, so that you are only using the top layer. Most paper napkins are two or three ply, so that when you separate them, the top layer is very thin – like tissue paper. Tissue paper is not going to go through your printer alone, because it is too thin and fragile. You will have to use a carrier sheet.
Supplies:
- glass item for your project
- digital image
- tissue paper
- printer paper
- tape or glue stick
- inkjet printer
- ModPodge (matte) or a matte medium
- paintbrush to apply medium
- chip brush
- water
- paper towel
How to prepare the tissue paper
Make sure your paper tissue is flat, and tape it your carrier sheet, which is just a piece of your regular printer paper. You could also adhere it with a bit of a glue stick along the outer edge of your tissue. Make sure you have plenty of room outside your image to remove it from the carrier sheet. If you use glue stick, use it sparingly and make sure the glue is completely covered so there is no chance of it coming in contact with the working mechanisms of your printer. If your image is a bit larger, you could also take the tissue paper and completely bring it around to the back side of your carrier sheet to secure it. That way, the front of your paper will be free for your image.
How to print image on tissue paper
You can print your image from a word processing program and have complete control of the image size and where your image is on the page. If you know how to print directly from a device to your printer, that is certainly optional. If you are printing directly, you may want to use the method of wrapping the tissue around the entire carrier sheet, unless you have complete confidence in printing directly and knowing where it will print on the page. Print your image using the Normal quality setting. Using the Best quality setting can flood your image with too much ink.
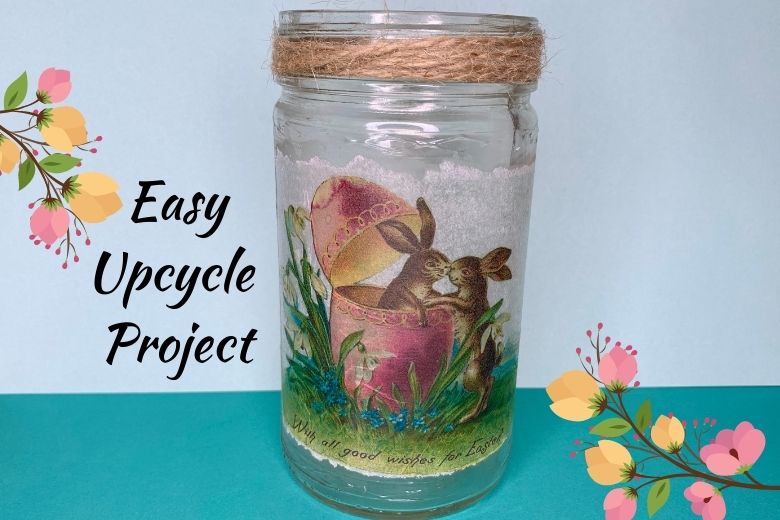
How to apply the tissue to glass surface
Once you have printed the image, carefully remove it from the carrier sheet. Now you can apply it to your glass surface. Simply use a very thin layer of ModPodge or a matte medium, and carefully lay the image on the surface. Tap the image down with a dry chip brush. Then gently add a layer of your ModPodge or matte medium over the top. Any adhesive which is outside the edge of the tissue can be removed with a little bit of water on a paper towel. When your project is dry, if you see a bit of dry adhesive, you can decide if you need to remove that last bit. I went back with a Mr. Eraser and took the last bit off.
If you make something with this method and share on social media, please tag me on Facebook – @myArtfulAdventures or Instagram @MyArtfulAdventures
Cheers to YOUR Artful Adventures!
Kristie
1 thought on “Print Image on Tissue Paper and Apply to Glass”